
GitHub Account & Visual Studio Code Setup
Set up your professional development environment with GitHub and Visual Studio Code. You'll create your first repository, publish a live website, and establish the foundation for your web localization portfolio.
Overview
Developers often use a combination of Visual Studio Code and GitHub for coding projects, and teams use GitHub to collaborate on coding projects. You're going to create the GitHub account where you'll build your web localization portfolio. On this page, you'll also find instructions on how to connect your GitHub Account to Visual Studio Code.
What is GitHub?
GitHub is a web-based platform for version control and collaboration. It allows developers and localization professionals to work together on projects, track changes, and manage code repositories. To learn more about GitHub and Git, visit the official documentation:
What is Visual Studio Code?
Visual Studio Code (VS Code) is a free, powerful code editor that supports multiple programming languages and offers features like syntax highlighting, debugging, and Git integration. It's an essential tool for web development and localization work. To learn more about VS Code, visit:
Part 1: Set Up Your GitHub Account
Create Your Account
Navigate to https://github.com and sign up for an account. If you already have a GitHub account, you can skip this step.
Enable Two-Factor Authentication
Once you've created and verified your account, enable two-factor authentication by navigating to Account Settings → Password and authentication → Enable 2FA.
Configure Your Profile
Click on Edit profile. Add an avatar image, your name, and a brief biography. You can also add your email and relevant social links to make your profile professional and complete.
Part 2: Install Git on Your Computer
For Windows
- Download Git from https://git-scm.com/download/win
- Run the installer
- Use default settings (recommended for beginners)
- Complete the installation
For macOS
- Open Terminal
- Type:
git --version - If Git isn't installed, macOS will prompt you to install Xcode Command Line Tools
- Follow the prompts to install
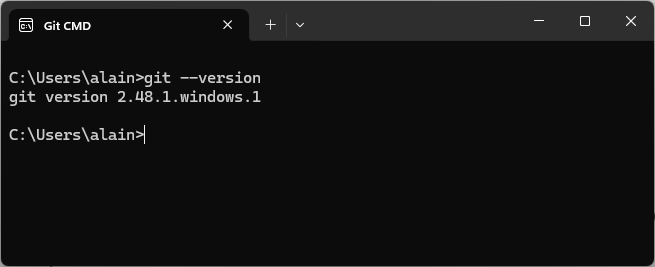
Verify Git Installation
- Open Git CMD (Windows) or Terminal (macOS/Linux)
- Type:
git --version - You should see a version number (e.g., "git version 2.43.0")
Part 3: Configure Git
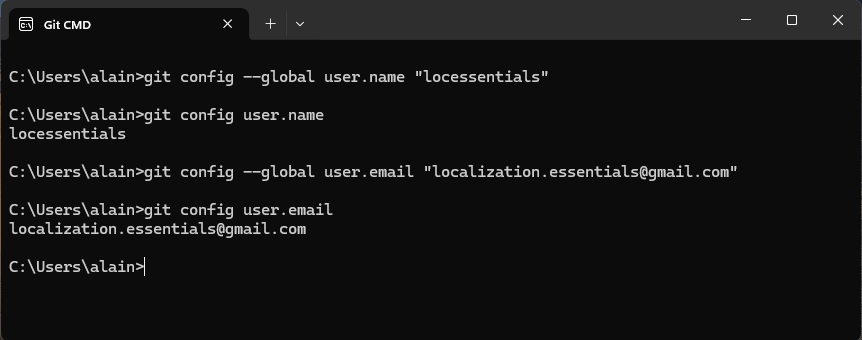
Set Your Identity
Open Git CMD (Windows) or Terminal (macOS/Linux) and run the following commands:
- Set your GitHub username:
git config --global user.name "your username" - Check that your username was configured correctly:
git config user.name - Set your email (use the same email as your GitHub account):
git config --global user.email "your.email@example.com" - Check that your email was configured correctly:
git config user.email
Part 4: Download and Install Visual Studio Code
Install VS Code
If you haven't already installed Visual Studio Code:
- Go to https://code.visualstudio.com
- Click Download for your operating system
- Install VS Code following the installer prompts
- Launch VS Code
Part 5: Create a Repository in GitHub
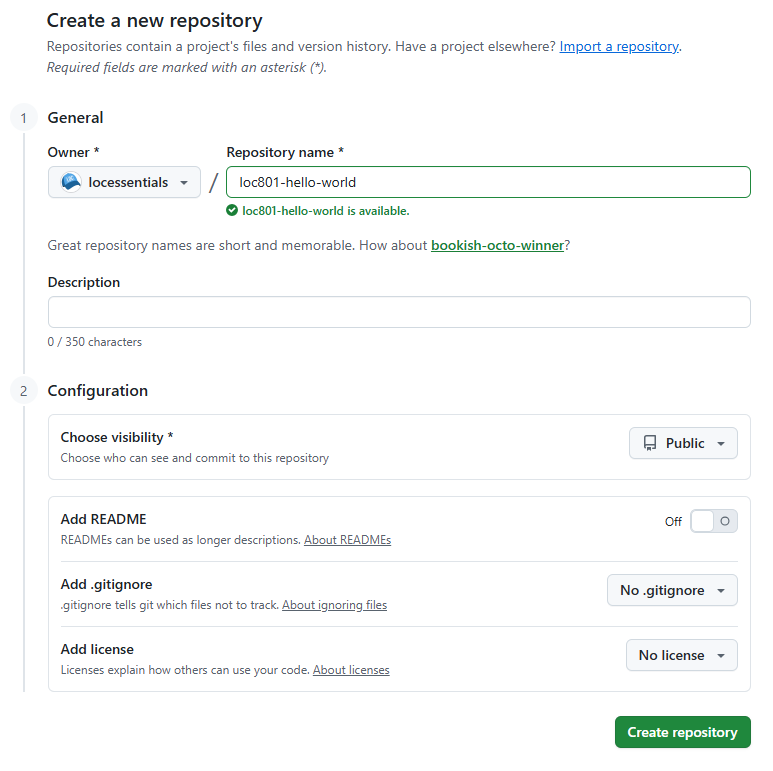
Create Your First Repository
- Navigate to GitHub and be sure you're signed into your account
- Click the + icon in the upper right corner and select New repository
- Repository name:
loc801-hello-world - Select Public (so you can share your work)
- No need to add a README or a license at this time
- Click Create repository
Part 6: Add a File to Your Repository
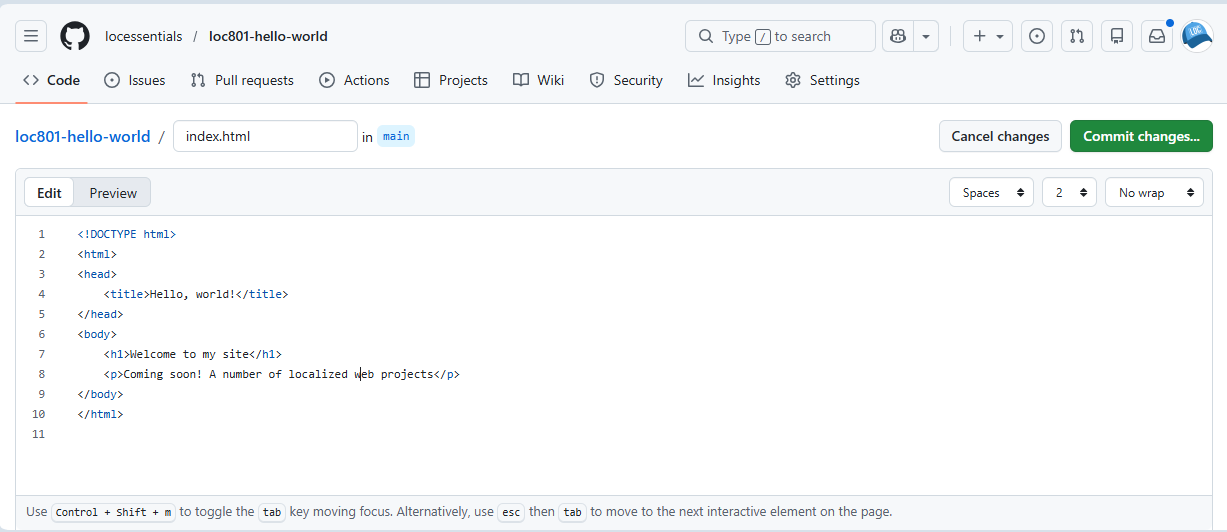
Create Your First HTML File
- In your new repository on GitHub.com, click the "creating a new file" link in the light blue Quick setup box
- Name the file:
index.html - Copy and paste this code into the file:
<!DOCTYPE html>
<html>
<head>
<title>Hello, world!</title>
</head>
<body>
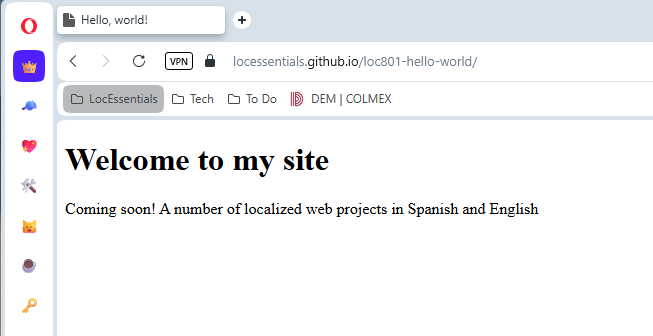
<h1>Welcome to my site</h1>
<p>Coming soon! A number of localized web projects</p>
</body>
</html>- Click Commit changes… You can update the commit message and add an extended description if you like
Part 7: Clone Your Repository to Your Computer
Get the Repository URL
- On the home page for your repository on GitHub.com, click the green Code button
- Make sure HTTPS is selected (not SSH) and click the copy icon to copy the URL (it will look like:
https://github.com/yourusername/loc801-hello-world.git)
Clone the Repository
- Open Git CMD (Windows) or Terminal (macOS/Linux) and navigate to the folder location where you would like to store the project. For example:
cd C:\Users\alain\OneDrive\Documents\GitHub - Clone the repo:
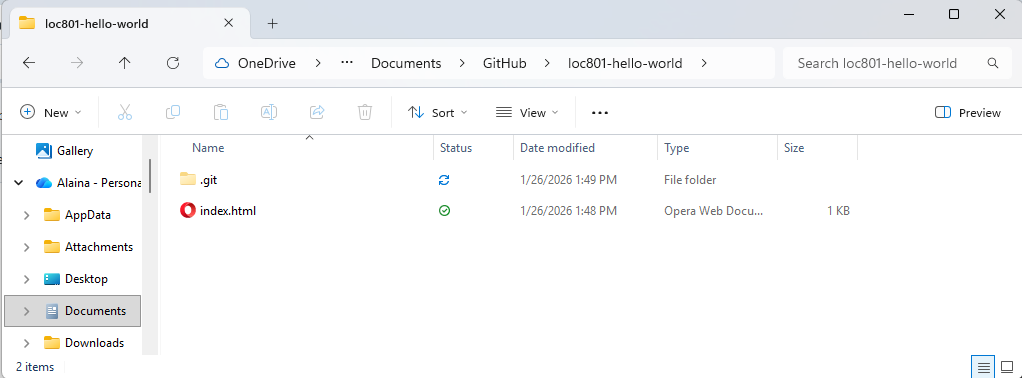
git clone https://github.com/yourusername/loc801-hello-world.git - A folder named after your repo containing your
index.htmlfile should now be in the location you indicated
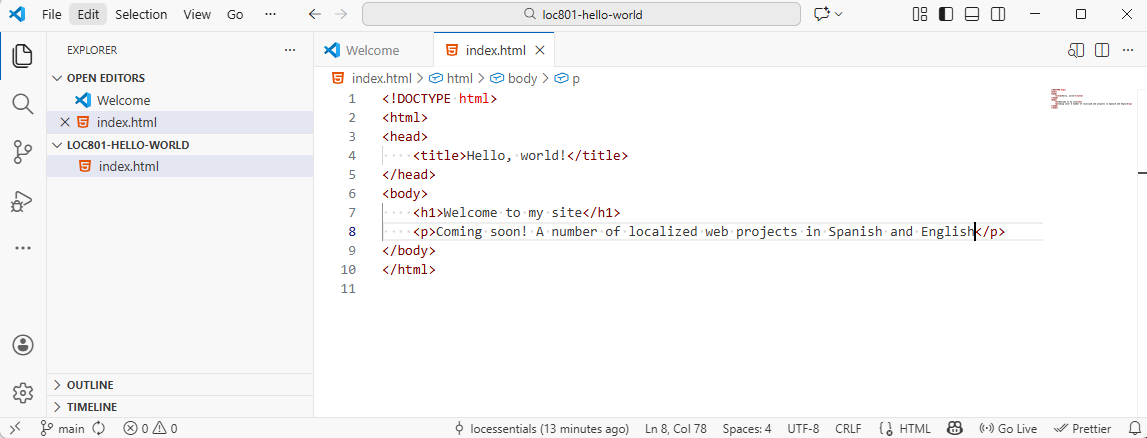
Open in Visual Studio Code
- Open the repo folder in Visual Studio Code by navigating to File → Open folder
- Make some changes to the contents of the file in VS Code, respecting the HTML code structure
Push Changes to GitHub
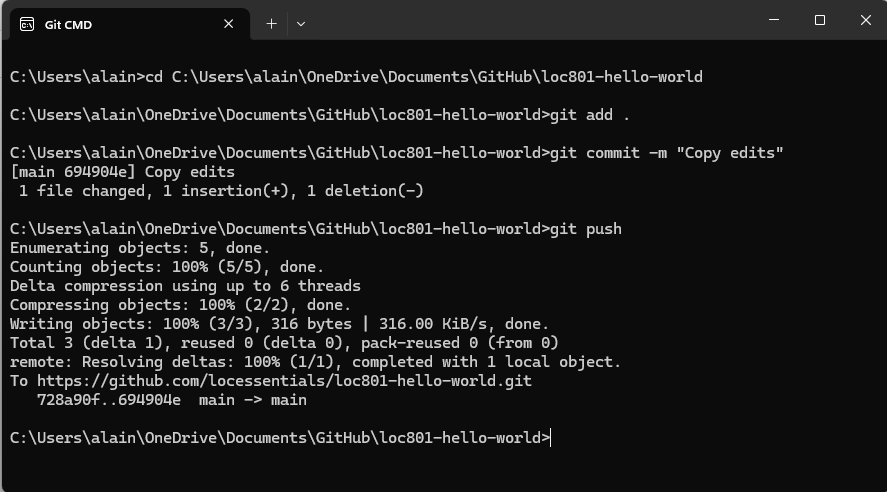
Now, push the changes to your repo on GitHub. In Git CMD/Terminal:
- Navigate to the repo folder using the
cdcommand git add .git commit -m "Description of update"git push
Navigate back to your repo on GitHub and observe the updates.
Part 8: Enable GitHub Pages (Make Your Site Live!)
Configure GitHub Pages
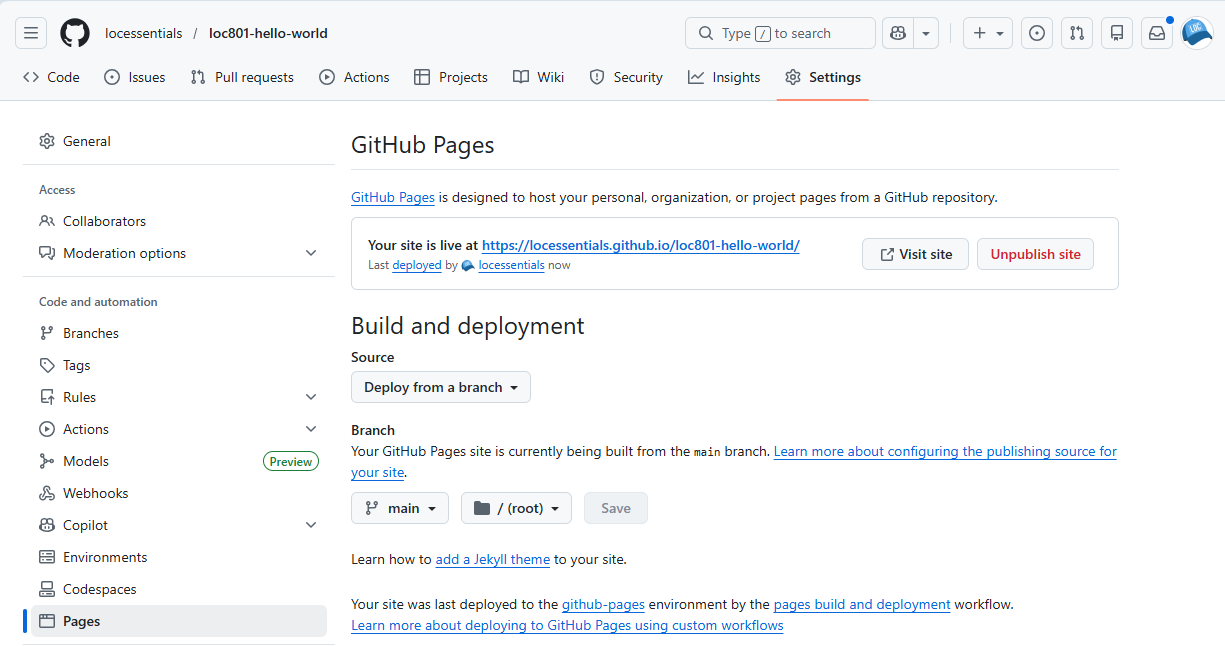
- Navigate to the repository settings (not your account settings)
- In the left sidebar, scroll down and click Pages
- Under Source, select Deploy from a branch
- Under Branch, choose main from the dropdown
- Keep the folder set to / (root)
- Click Save
Wait for Deployment
- GitHub will show a message that your site is being deployed
- Refresh the page after about 30 seconds
- You'll see a message: "Your site is live at
https://yourusername.github.io/loc801-hello-world/"
Visit Your Live Site
- Click the Visit site button or copy the URL
- Your Hello World page is now live on the internet!
- Your site URL will always be:
https://yourusername.github.io/loc801-hello-world/
- • It may take 1-2 minutes for your site to appear the first time
- • Every time you push changes to GitHub, your site will automatically update
- • You can share this URL with anyone - it's publicly accessible
- • This setup is perfect for showing your localization portfolio to potential employers or clients!
Coming Next
Now that you have Git and GitHub set up with VS Code and your first live website, you're ready to start working on localization projects! In upcoming lessons, you'll:
- Learn more about working in Visual Studio Code
- Learn about HTML structure and how to identify translatable content
- Work with multiple web programming languages to build bilingual websites
- Use GitHub Pages to publish bilingual websites
- Use GitHub to manage your localization portfolio
Now that you have GitHub, you'll be able to collaborate with teams on web localization projects as well!